
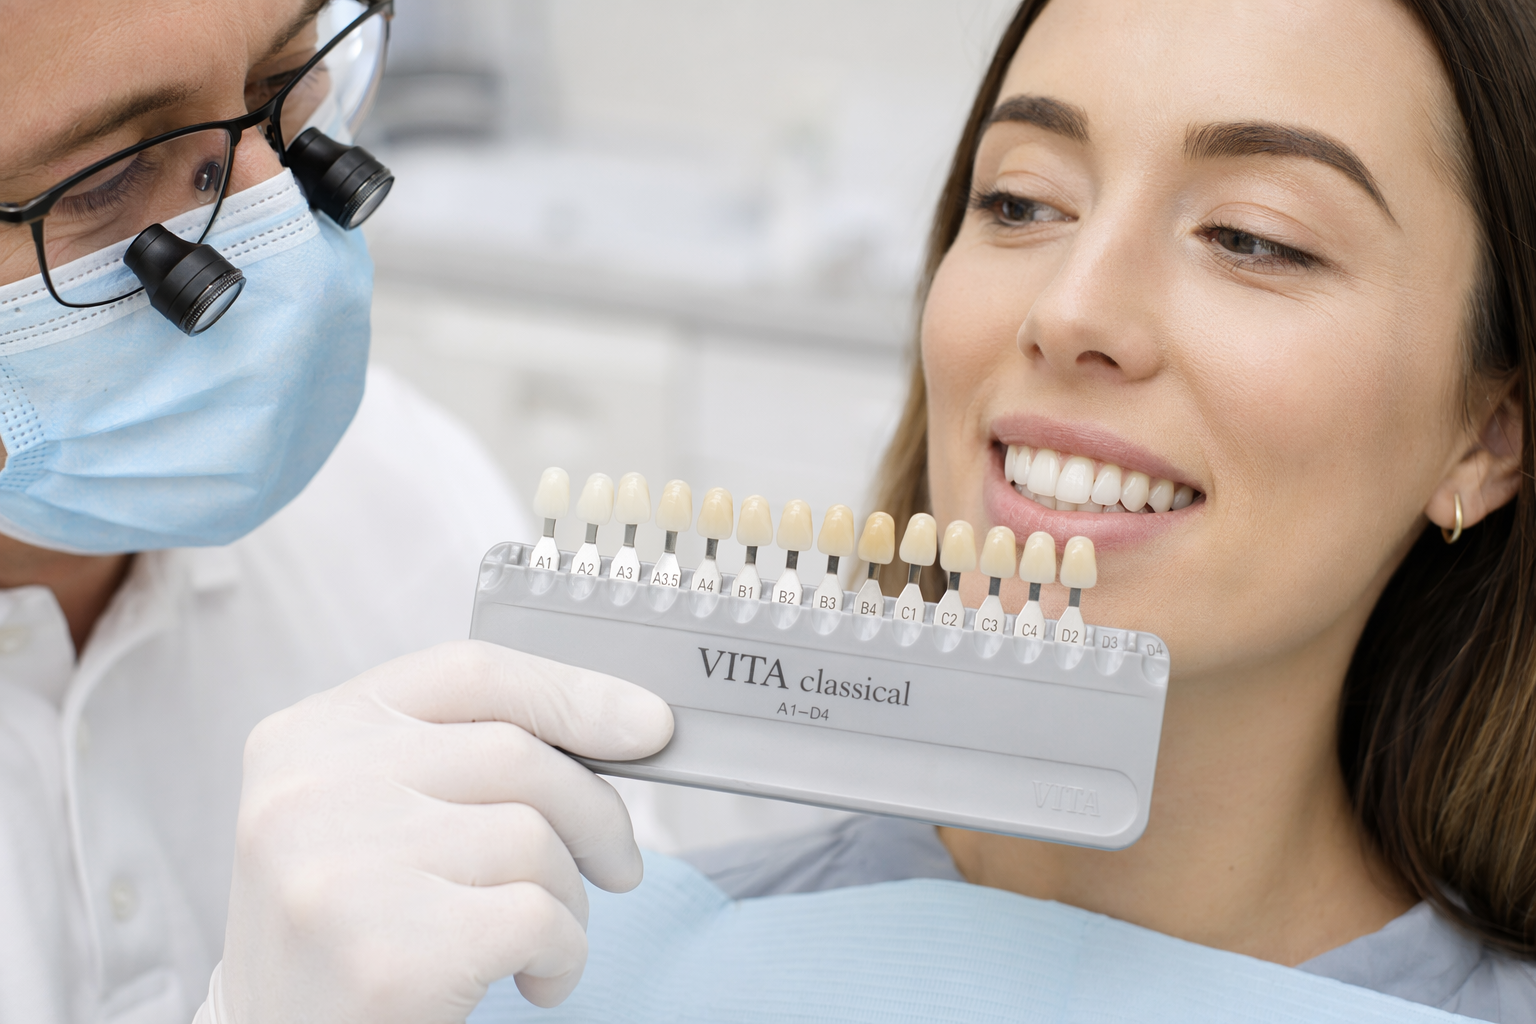
There is a mistake that repeats itself in surgeries every single day, and yet it takes almost no effort to correct: choosing the tooth shade at the end of treatment, when the tooth is dehydrated, isolated and optically nothing like what it really is.
01The physics of itWhy a dried tooth looks different
A tooth is a living structure full of water. Enamel and dentine are riddled with microscopic tubules and an organic matrix that, under normal conditions, reflect and refract light in a way that gives the tooth its natural hue, translucency and chromatic saturation. The moment a tooth dries out — whether under an air stream, a retractor, or simple isolation — that water starts to evaporate from the superficial layers.
The result is predictable: the tooth lightens, loses translucency and looks chalky or milky. Its natural saturation disappears. If you reach for the shade guide at that moment, you will pick a shade that does not match the tooth in its normal, hydrated state — that is, the way the patient will see it in the mirror every day.
02How long the return takesRehydration is not instant
This is the part that surprises even experienced clinicians: the tooth does not need a minute or two to return to normal. After prolonged isolation or aggressive drying, rehydration can take tens of minutes. Throughout the whole procedure — preparation, etching, bonding, composite layering — the tooth sits in an artificial, optically distorted state. The shade you pick at that moment is the shade of a tooth that does not exist.
03The correct protocolShade selection step by step
The protocol is not complicated, but it demands discipline in the order of steps:
- Before any manipulation — have the patient rinse, so the tooth is wet and clean.
- Natural or standardised light — avoid the direct beam of the operatory lamp, which distorts colour. Daylight or a standardised dental lamp with neutral colour temperature is ideal.
- A quick decision — the eye adapts to colour within seconds. Do not stare at the shade guide for longer than 5–7 seconds; look away and decide.
- Document it — take a photograph with the shade tab next to the tooth straight away. That photograph is your reference point for the whole procedure and for any later complaint.
- Only then begin — isolation, preparation, everything else comes after the shade has been chosen.
A shade chosen at the end of treatment is the shade of a dried-out tooth. The patient will never see it — because that tooth does not exist in their mouth.
Clinical practice — restorative dentistry
04Why it mattersAesthetics and patient trust
A poorly chosen shade is not just an aesthetic problem — it is a trust problem. The patient goes home, looks in the mirror and sees that the filling or veneer does not match. They do not know why. They only know that the result does not meet their expectations.
Putting that right costs time and material. And the whole failure was set in motion the moment the clinician reached for the shade guide twenty minutes too late.
Selecting the shade at the start of the appointment is one of the simplest protocol steps in aesthetic dentistry. It needs no extra equipment and no extra time — only the correct order.

🌍 Cicero System🎓 Dental Education | 🛒 Procurement | 🏥 Clinic Management