
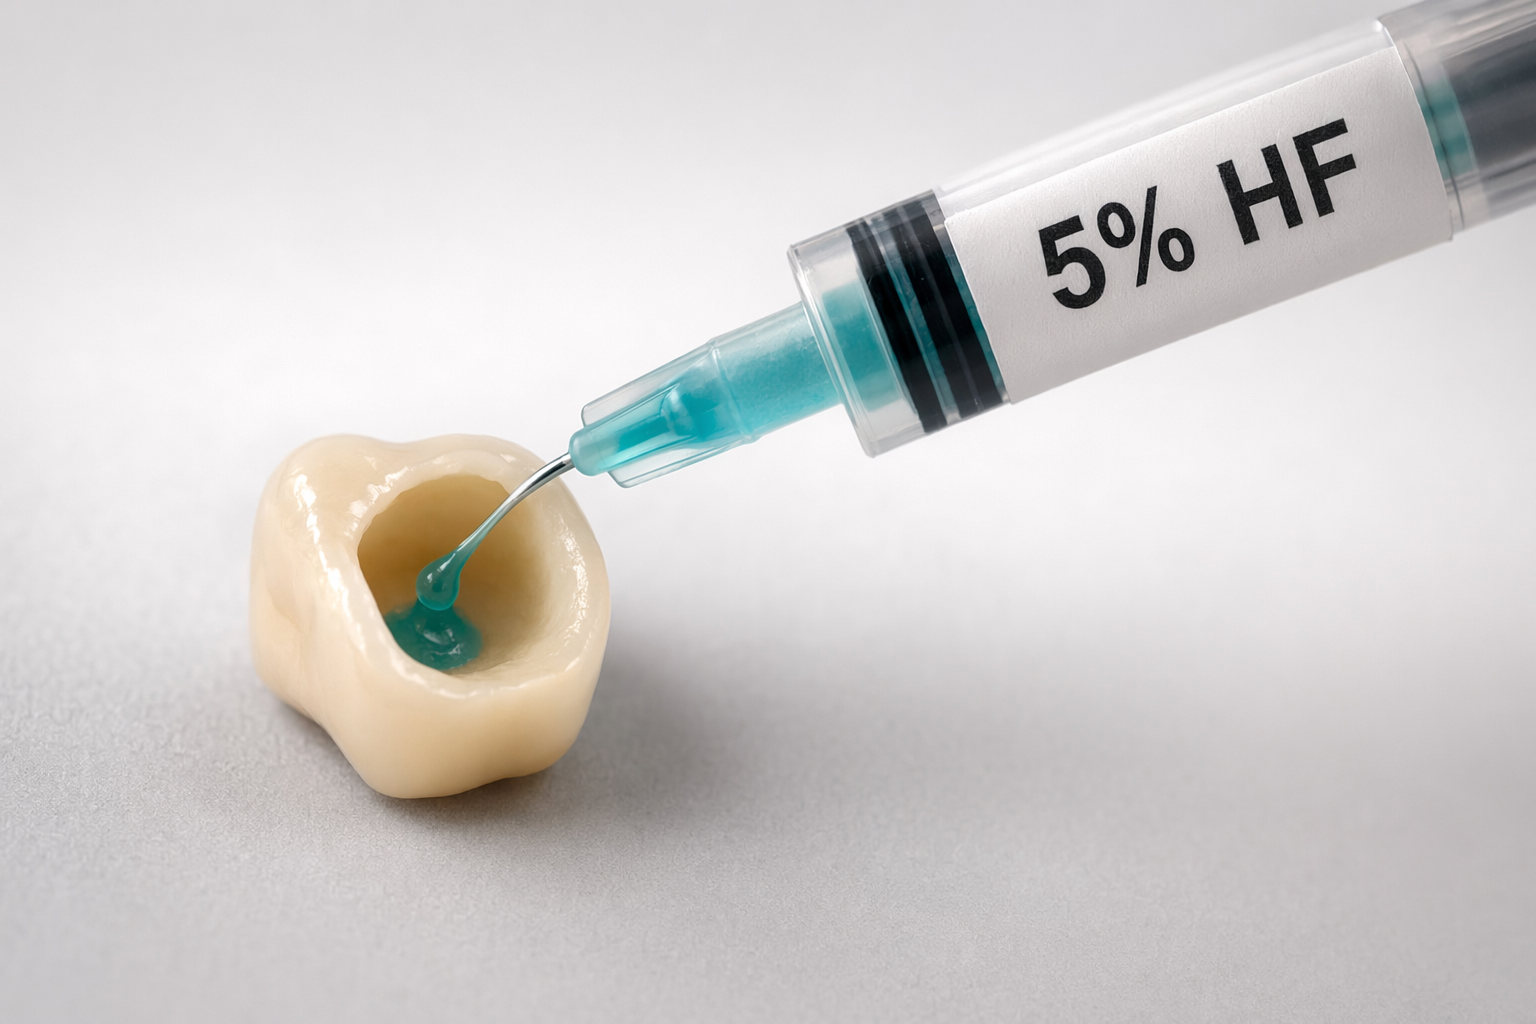
Lithium-disilicate ceramic (LDS) is among the most-used materials today for aesthetic crowns and veneers. Its strength and translucency are exceptional – but only if adhesive cementation is done correctly. And that starts long before you reach for the cement.
01The basicsWhy acid concentration matters
Hydrofluoric acid (HF) selectively dissolves the glassy matrix of LDS ceramic and exposes the crystalline structure of lithium disilicate. The result is a microretentive surface that the silane – and then the resin cement – can actually grip.
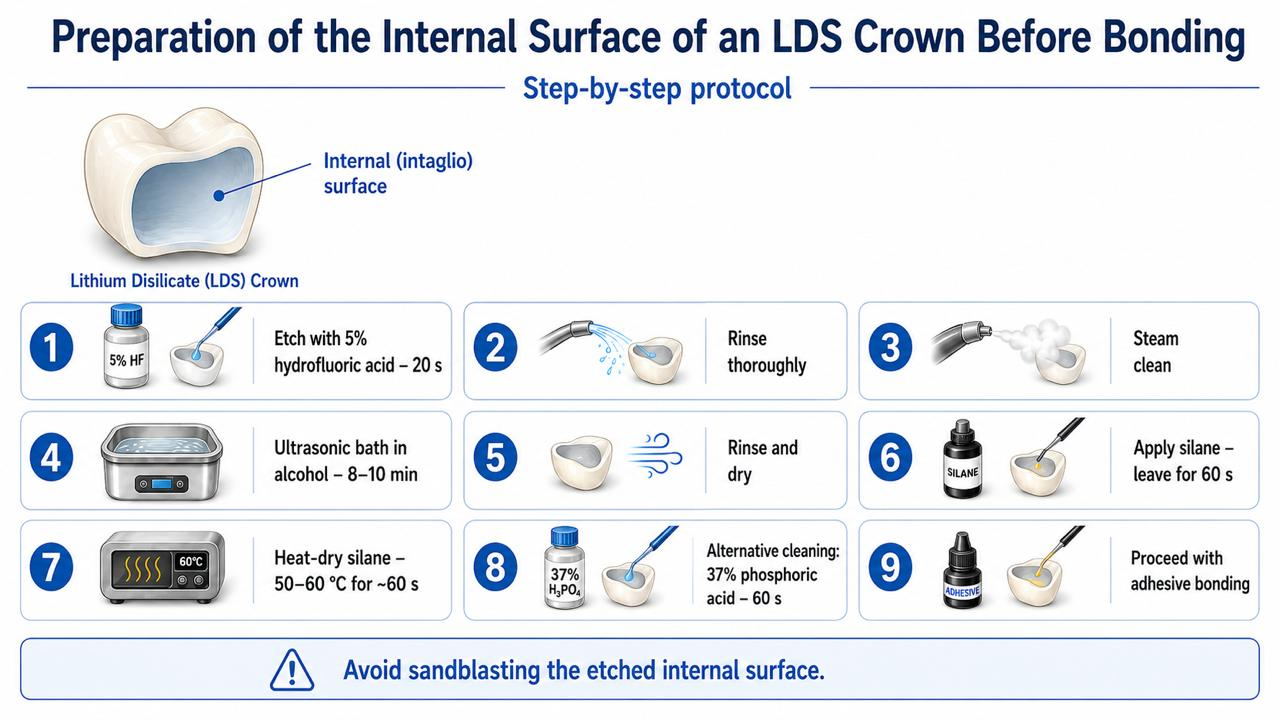
The most-cited and clinically validated concentration is 5% HF for 20 seconds. This combination repeatedly emerges as optimal in laboratory studies and systematic reviews: it creates sufficient roughness without excessive surface damage. Higher concentrations (9.5%) or longer exposure do increase roughness, but they also weaken the surface layer of the ceramic and can paradoxically reduce the resulting bond strength.
02Pressed vs. CADCAM: LDS isn't just LDS
Here comes a detail easily overlooked in practice. Pressed LDS (e.g. IPS e.max Press) and milled CAD/CAM LDS (e.g. IPS e.max CAD) have different crystalline structures – and they react to etching differently.
CAD/CAM blocks are milled in the so-called blue (pre-crystallised) state and only crystallised in a furnace after milling. The resulting microstructure is finer and more homogeneous. Pressed ceramic, by contrast, has larger and more densely packed crystals. Studies tracking the 3D microstructure after etching show that both types require the same protocol (5% HF, 20 s), but the CAD/CAM surface is visually less dramatically altered after etching – yet adhesion is comparable, provided all the subsequent steps are followed.
In short: the protocol is the same, the resulting surface looks different – don't let that confuse you.
03Cleaning after etchingUltrasonic bath and phosphoric acid
After etching, a white precipitate forms on the ceramic surface – silicon fluoride. If you don't remove it, it physically blocks the binding sites for silane and significantly reduces bond strength.
An ultrasonic bath (ethanol or distilled water, 8–10 minutes) is the gold standard for removing the precipitate. Rinsing with water alone is not enough – ultrasonic cavitation mechanically releases the precipitate trapped in the micro-retentions.
A useful additional step is the application of 37% phosphoric acid (30–60 seconds, then rinse). Phosphoric acid removes residual contamination and further activates the surface for silanisation. The combination of US + H₃PO₄ consistently produces better results than either step alone.
04Silanisation and heatingThe step you mustn't rush
Silane forms a chemical bridge between the ceramic and the resin cement. It is applied to a dry, clean surface in a thin layer and left to evaporate (20–30 seconds). Then comes the critical detail: heating to 60 °C for 1 minute (or as specified by the manufacturer) condenses the silanol groups and substantially increases the density of the chemical bond.
Without heating, the silane does cover the surface, but condensation is only partial – and the resulting bond strength is lower. This step is most often skipped in clinical practice precisely because "it kind of works without it too". It does work – but not as well and not as long.
Silane surface treatment provides higher bond strength regardless of the HF concentration used or the etching time.
Systematic review, Journal of Clinical and Experimental Dentistry, 2024
05SummaryThe protocol worth following
The whole procedure takes roughly 15–20 minutes more than conventional cementation. The result is a bond that withstands thermocycling, occlusal forces and time.
- Etching: 5% HF, 20 seconds — applies to both pressed and CAD/CAM LDS
- Rinse and US bath: 8–10 minutes, ethanol or distilled water
- Phosphoric acid: 37%, 30–60 seconds, then thorough rinse and dry
- Silanisation: thin layer, evaporate, heat to 60 °C / 1 min
- Cementation: immediately after preparation, with no unnecessary delay
Every skipped step is a quiet bet that the crown will hold up anyway. Sometimes it does. But the protocol exists precisely so it doesn't have to be a lottery.

🌍 Cicero System🎓 Dental Education | 🛒 Procurement | 🏥 Clinic Management